Rugby Attacking Structures: 1-3-3-1, 2-4-2 & Pods
What Is a Rugby Attacking Structure?
A rugby attacking structure organises how players occupy the width and depth of the pitch and how they rebuild after a scrum, lineout, kick receipt or breakdown. In the USA, coaches may also describe this as a rugby offensive system.
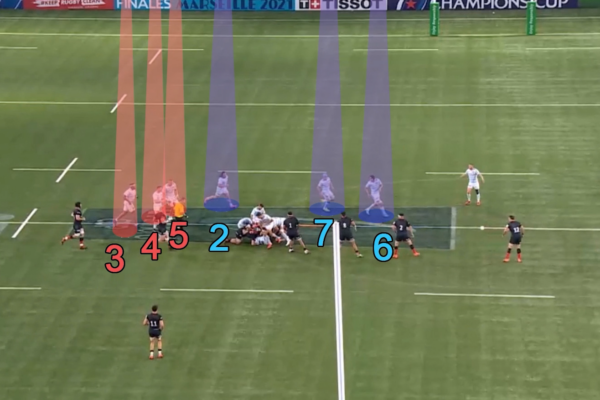
The numbers in structures such as 1-3-3-1, 2-4-2 and 1-3-2-2 broadly describe the distribution of the eight forwards. The backs then connect with those forward groups as first receivers, second receivers, pull-back options or wider attacking threats.
The Structure Should Organise
- Width and depth across the pitch
- Forward distribution and pod connections
- Support around the ball carrier
- Reloading after each breakdown
- Shared language between players
The Players Must Decide
- Where the defensive line is weakest
- Whether to carry, pass, play behind or kick
- Which match-up provides an advantage
- When to maintain or change direction
- How to react when the shape breaks down
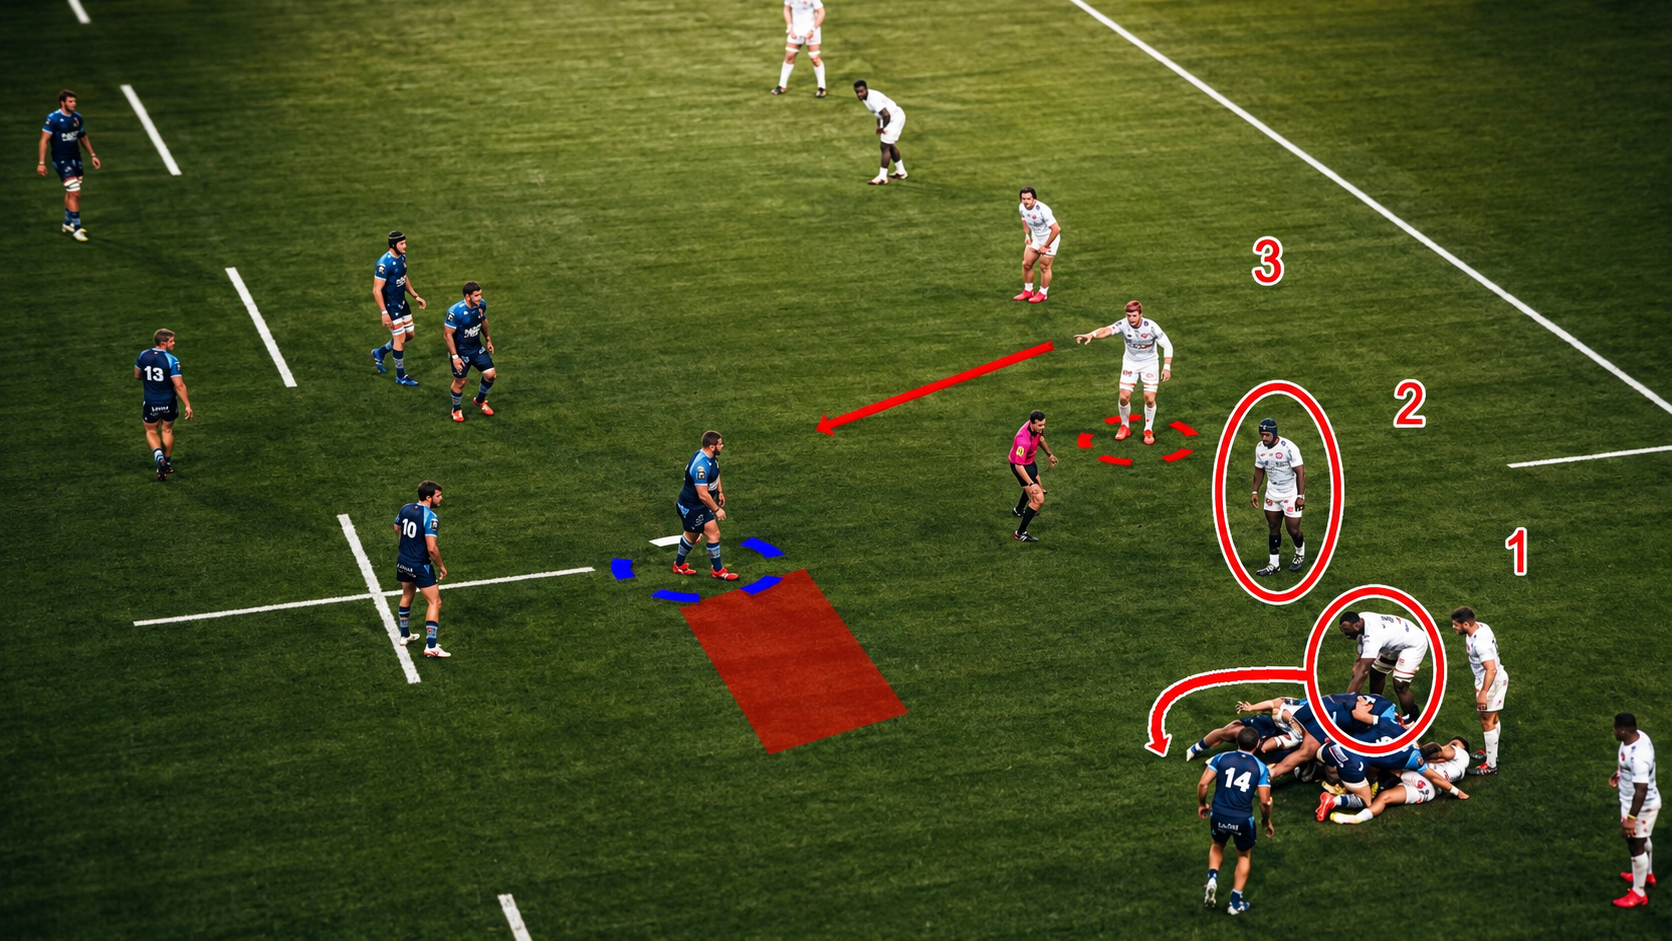
An attacking system is only one part of the wider team framework. Explore how it connects with strategy, set piece, defence and training in our practical guide to rugby tactics and strategy .
1-3-3-1, 2-4-2 or 1-3-2-2: Which Rugby Attacking System Fits Your Team?
Each structure distributes the forwards differently across the pitch. None is automatically superior. Coaches should compare the clarity, mobility, technical ability and training time required to maintain each system under pressure.
1-3-3-1
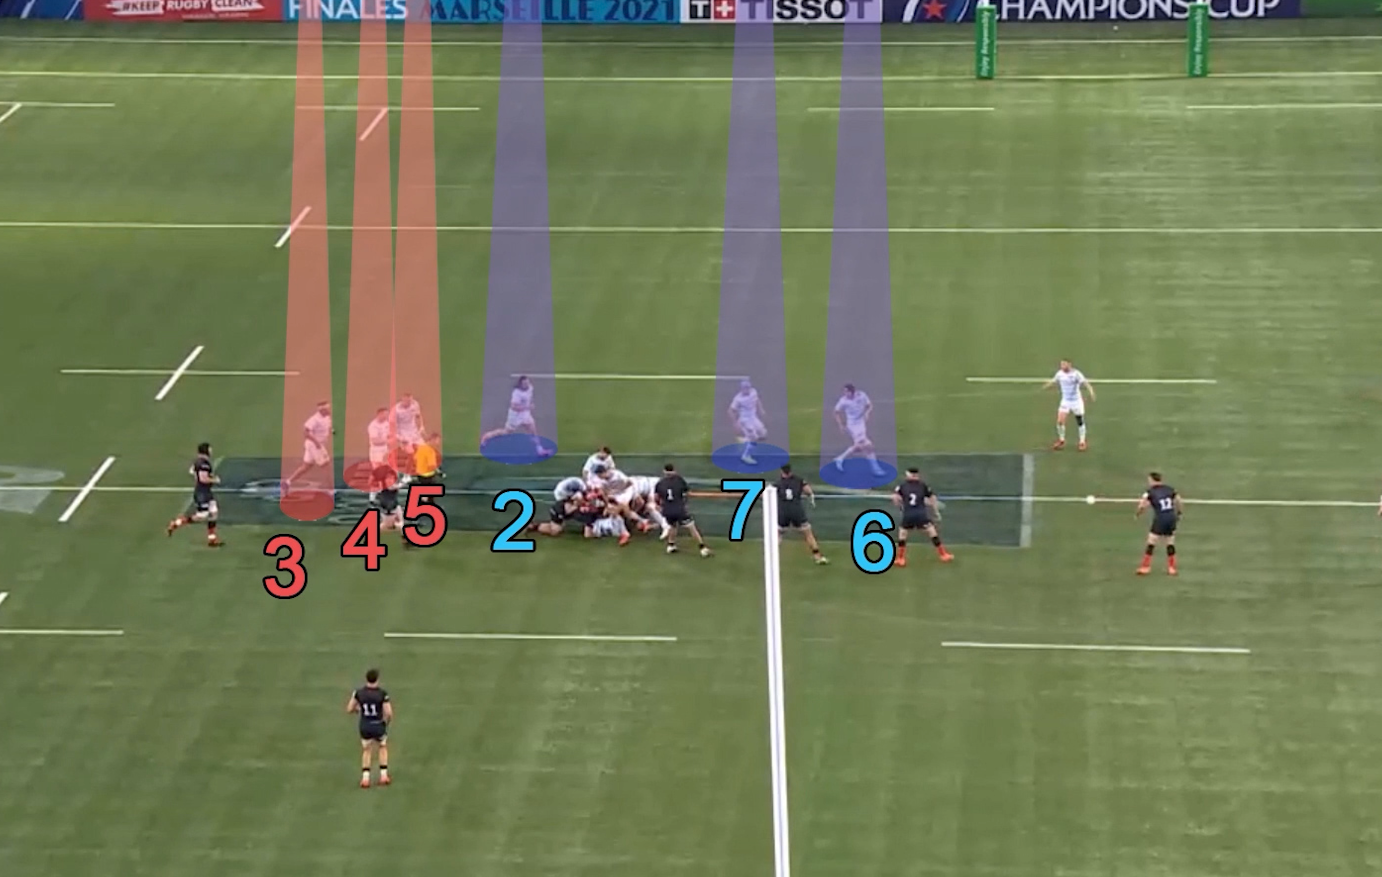
One forward operates towards each edge, with two central pods of three providing clear reference points through the middle.
- Maintains width on both sides
- Creates two connected central pods
- Can be easier to introduce progressively
2-4-2
Two forwards operate towards each edge, while four forwards provide connections and carrying options through the central area.
- Creates strong presence on both edges
- Offers excellent width and continuity
- Requires mobile, technically capable forwards
1-3-2-2
This staggered distribution can create different forward connections and several support pictures as the point of attack changes.
- Creates varied supporting relationships
- Can adapt to different player profiles
- Needs clearly defined movement rules
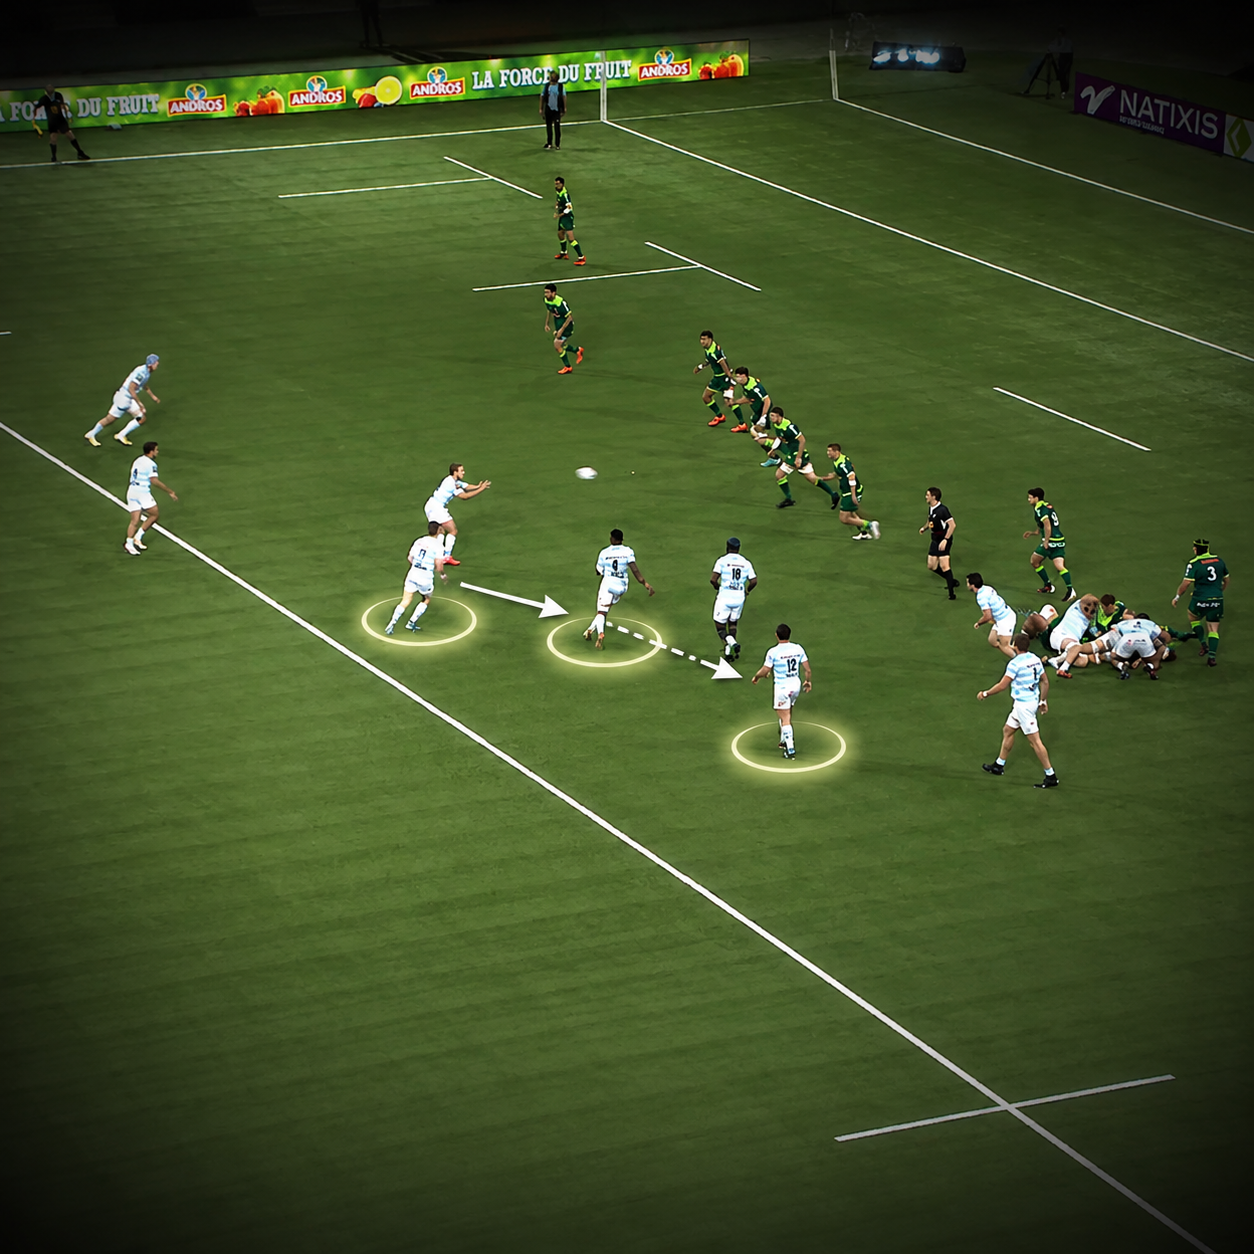
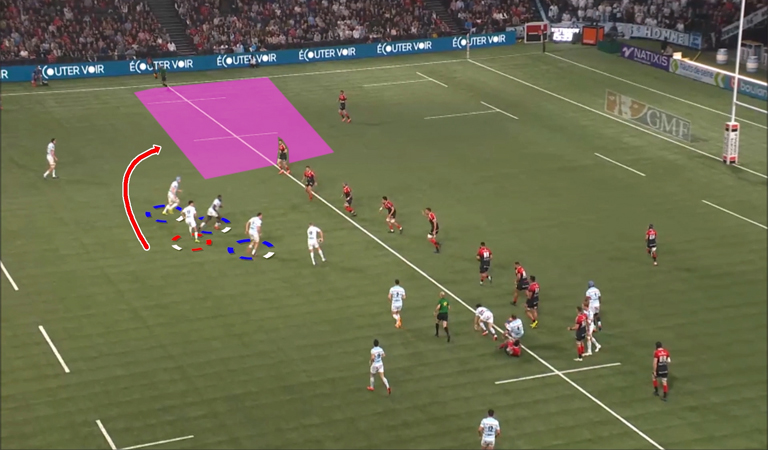
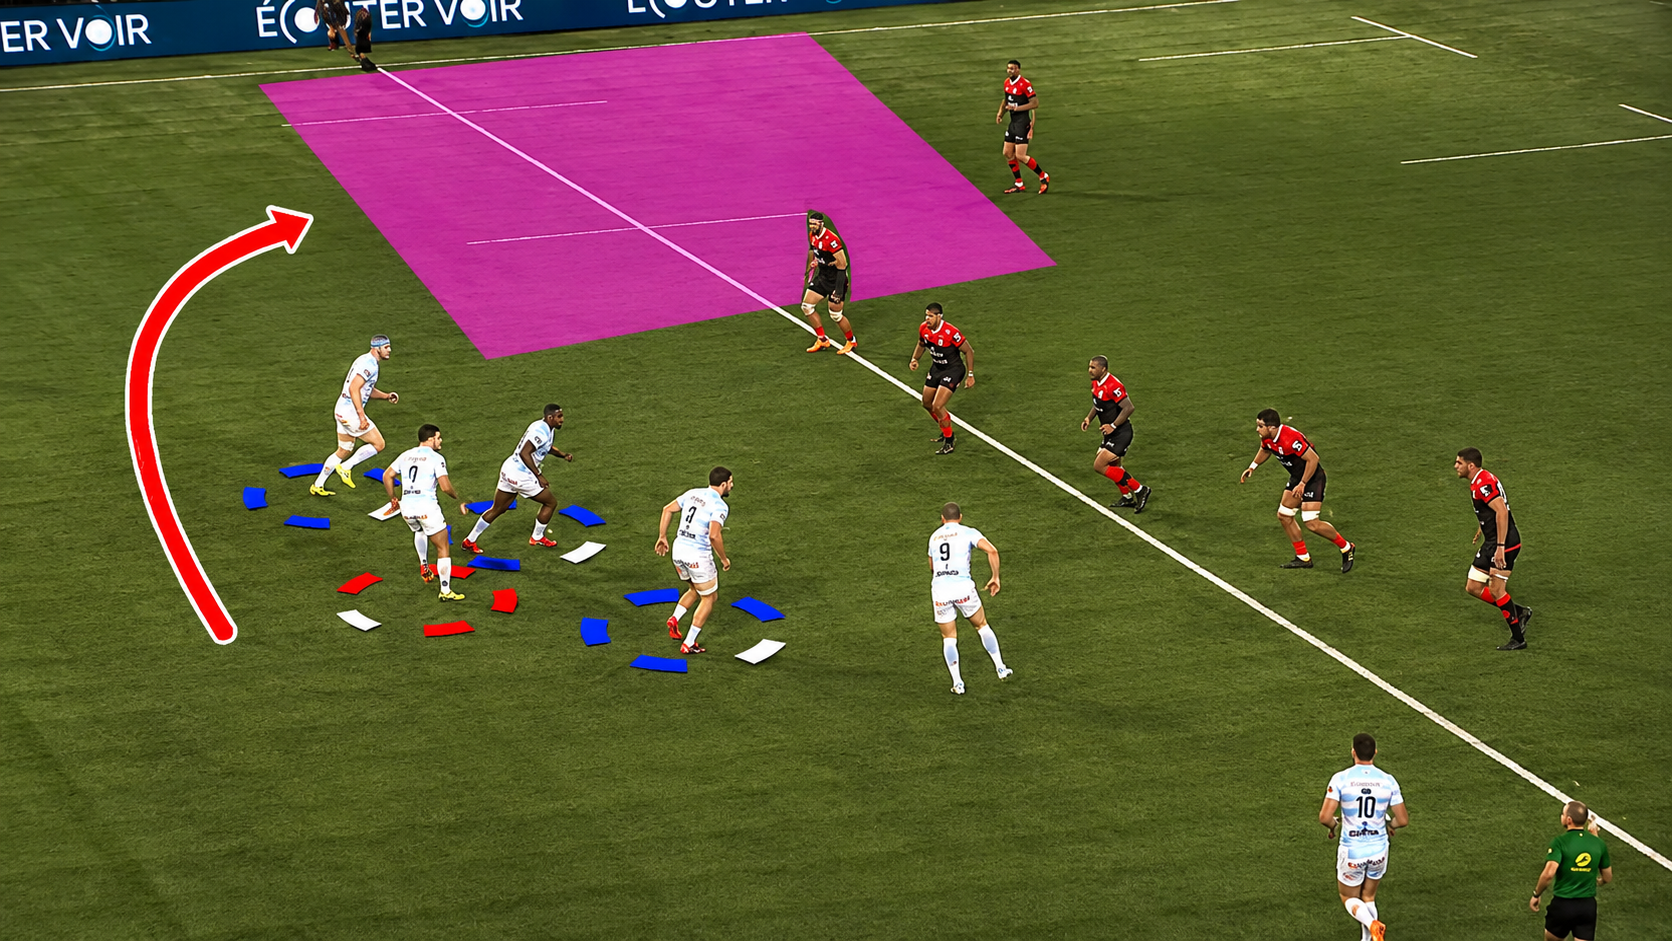
The three highlighted forwards are recovering from the previous breakdown into connected attacking positions. Their movement should restore options before the ball arrives rather than simply follow the ball across the pitch.
Learn how rugby pod rotation maintains the attacking shape →How Rugby Pods Create Multiple Attacking Options
A rugby pod is a connected group of forwards working around the ball. It should not become a fixed triangle that repeats the same carry on every phase. Its purpose is to give the first receiver several credible options while keeping the attacking shape connected.
When forwards reload early, maintain effective spacing and communicate before the ball arrives, they spend less time searching for positions and more time scanning the defensive line.
How to Choose the Right Rugby Attacking System for Your Team
Do not choose a 1-3-3-1, 2-4-2 or another attacking structure simply because a professional team uses it. The best rugby system is the one your players can understand, practise consistently and rebuild when the match becomes disorganised.
Can the system be reinforced during the coaching sessions available each week?
Which forwards can carry, pass, scan and operate effectively in wider channels?
Can the team produce the quick, clean ruck ball required by the structure?
Can the scrum-half, fly-half and other playmakers read pressure and available space?
Which line-speed, fold and ruck-defence systems does the team face most often?
Can players recover the attacking shape after slow ball, a line break or turnover?
How to Coach a Rugby Attacking Structure in Training
A rugby attacking system cannot be installed through a whiteboard presentation alone. Coaches must turn the structure into progressive rugby drills that develop organisation, communication and decision-making under realistic pressure. In the USA, the same progression can form the basis of a rugby practice plan.
Introduce player distribution, spacing, running lines and shared language without opposition.
Use limited line speed so players can identify carrying, passing and play-behind options.
Change ball speed, breakdown position and defender numbers to prevent automatic decisions.
Finish with opposed, multi-phase rugby and observe whether the shape survives without constant instruction.
- Width preserved after each breakdown
- Early communication between pods and playmakers
- Decisions based on the defensive picture
- Efficient reloading without following the ball

You may also like
Rugby Attacking Systems: Pods, Shape and Defence
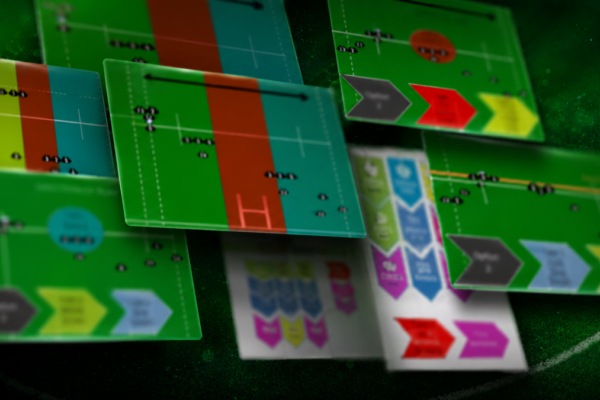
1-3-3-1 Rugby Pod Distribution